You’re editing a Reel in 1080p, but one clip came from an older phone. It looked fine on its own. Between two newer shots, the face looks soft and the lettering on a shirt is hard to read. If you still have the camera file, start there. If that file is also low-resolution, try upscaling a short section before you put it back in the edit.
For a 720p clip in a 1080p project: open PhotoGrid’s AI Video Upscaler, upload the clip, choose Full HD (1080p) when available, and match the frame rate of your edit. Review the credit estimate before processing. Here’s how to tell whether the result is worth keeping.
1. Find the best copy of the video you already recorded
Play the saved video on your device at the size you plan to share it. If the camera original looks clear but a copy from a group chat looks blocky, use the original in your edit. If the original is small and looks soft only when enlarged, it’s a good candidate for a test.
In PhotoGrid, select Upload video and choose one MP4 or MOV. Check the duration limit shown in the tool. For a longer recording, trim a short section that includes the detail you care about. For a shop video, use the moment someone turns the package toward the camera so you can check the label both still and in motion.

2. Choose 1080p or 4K for the video you’re making
Posting a Reel or editing a 1080p product demo? Choose Full HD if your final export is 1080p. A 720p source can then fill that frame. Upscaling doesn’t decide how a landscape clip should fit a vertical post. Check the crop separately in your editor.
Adding older footage to a 4K edit? Choose 4K if it appears under Resolution and you plan to deliver the project at that size. Try a short section first. A larger frame can make the shape of a label easier to see, but it can’t tell you what an unreadable word originally said.
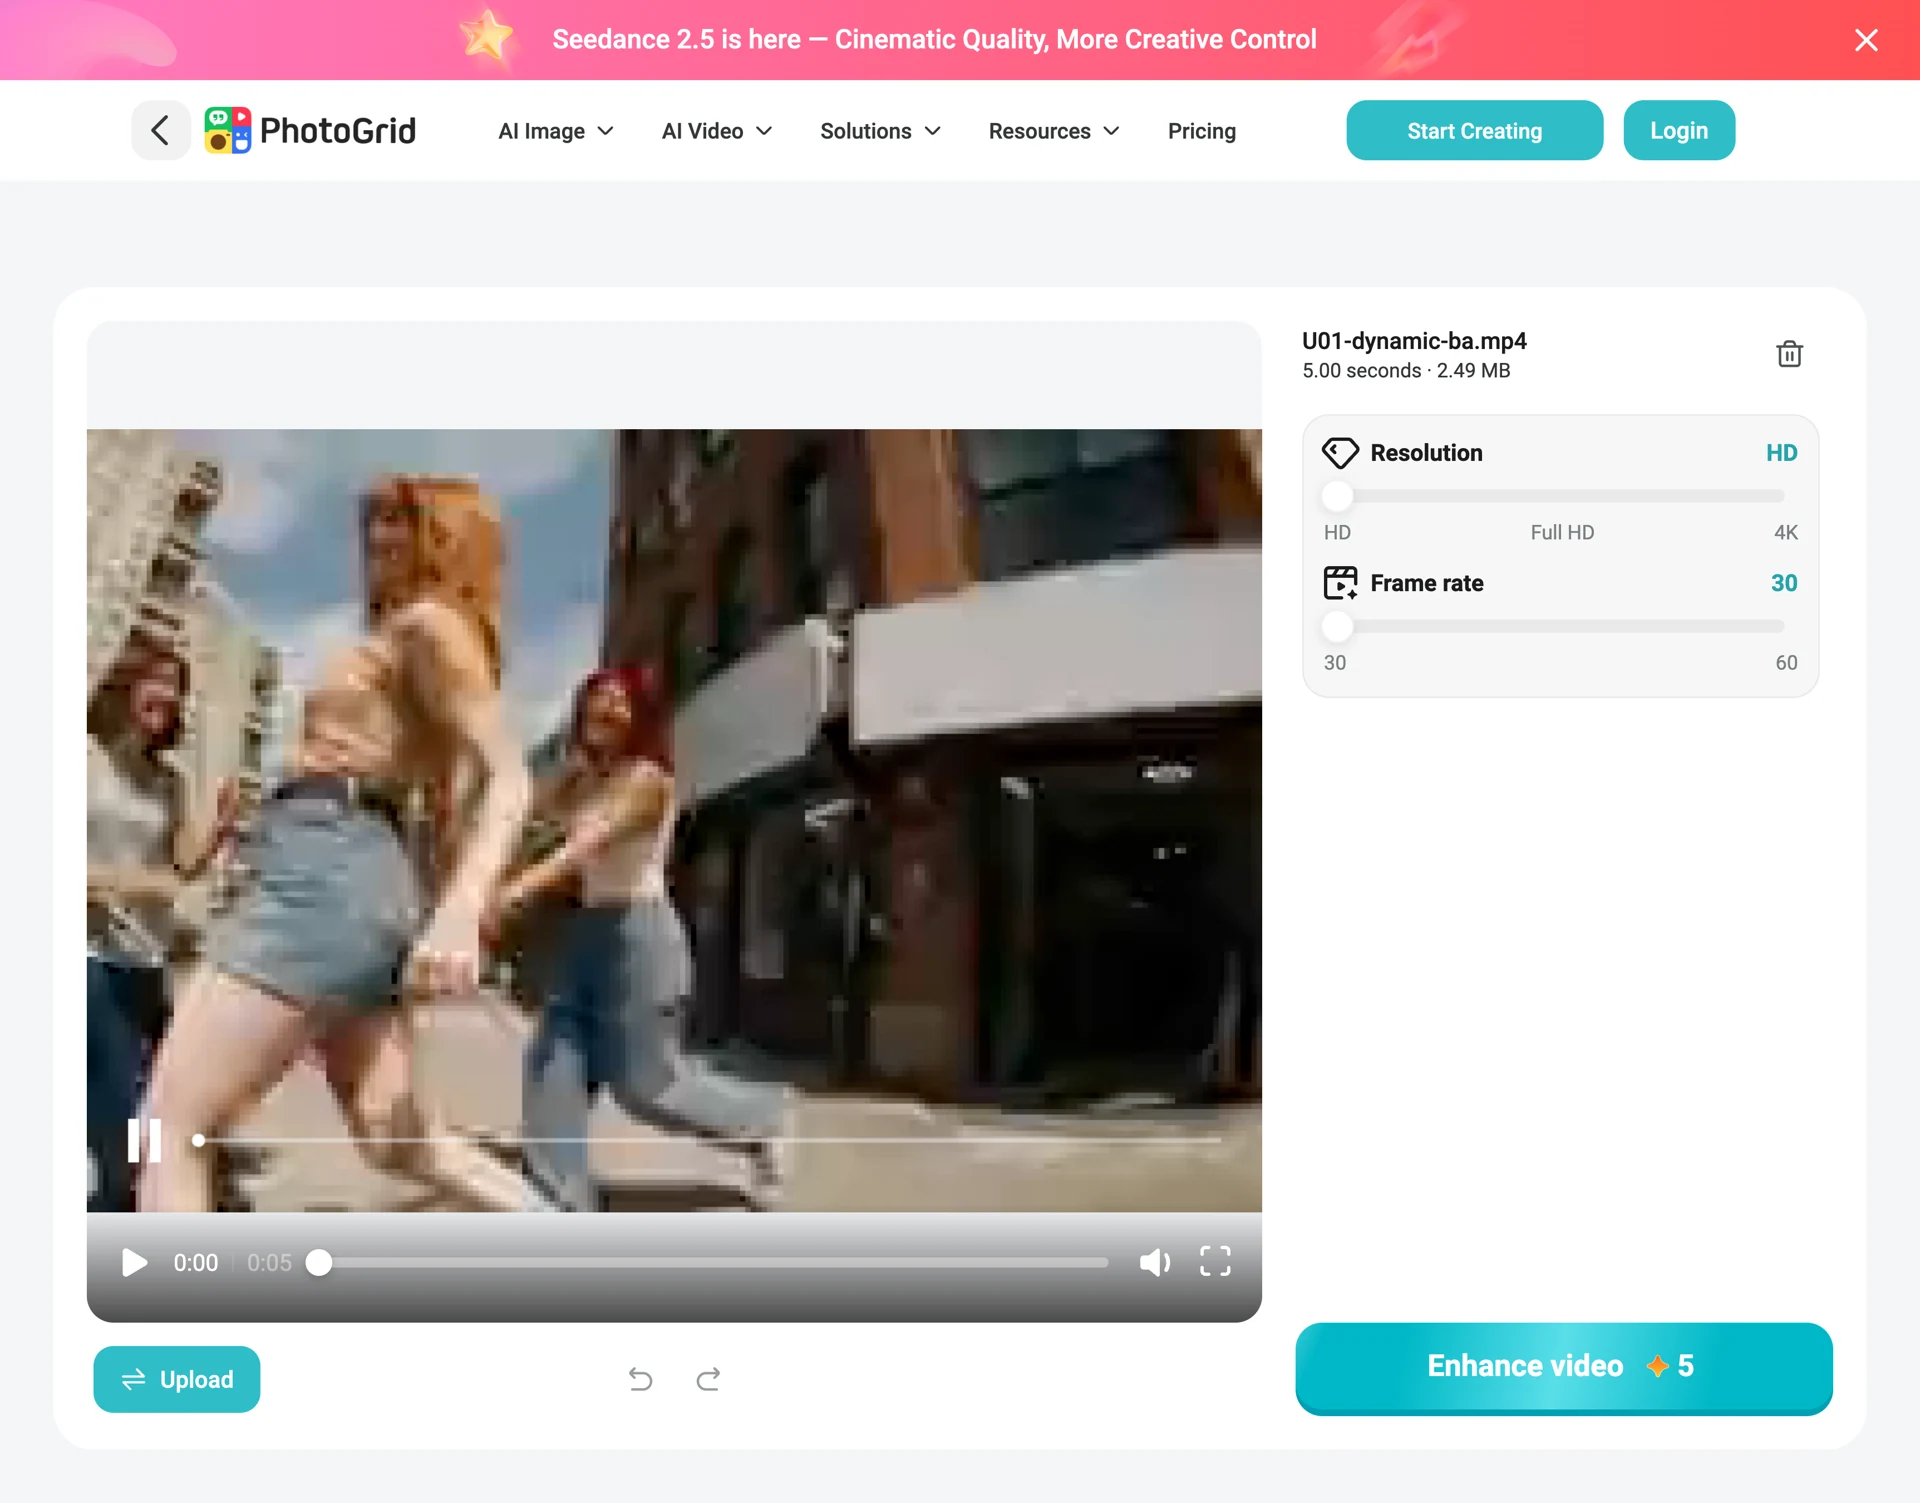
Set Frame rate to match your timeline when possible. For example, choose 30 fps for a 30 fps edit. Check the estimated credits next to Enhance video, select it when you’re ready, and keep the page open while the clip processes.
3. Compare the same moment before you download
Pause on a frame and move the comparison handle across one edge, like the car window below. Then play the shot at normal speed. An outline that looks clean when paused can shimmer as the subject moves.
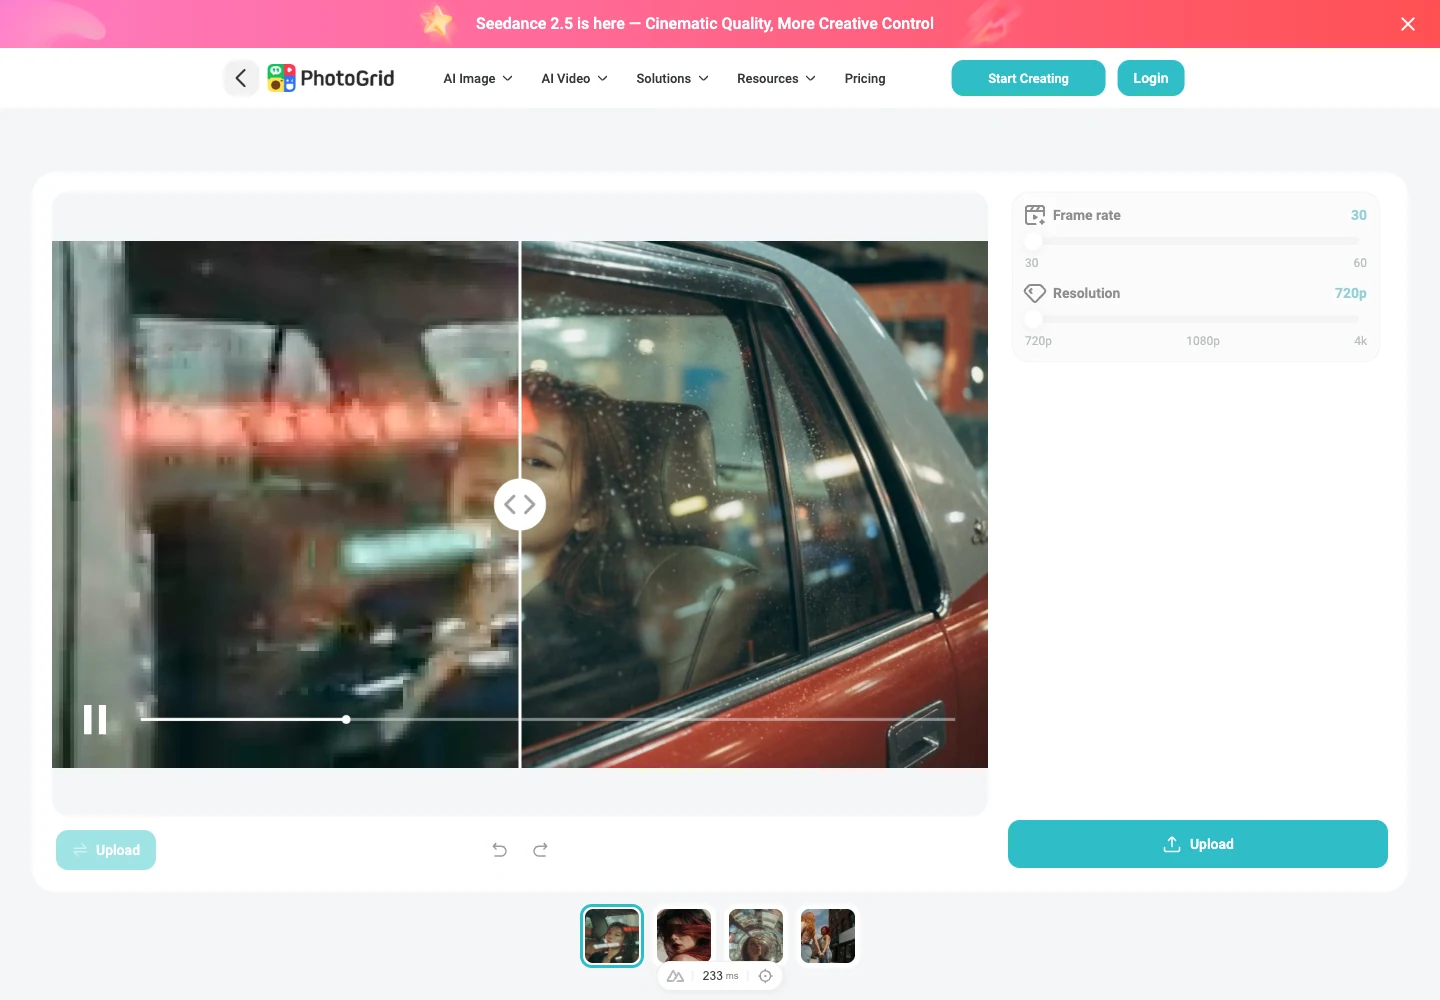
For a Reel, watch the face at the size it will appear on a phone. For a product page, pause when the label faces the camera and check that each readable letter still looks right. If the enhanced version holds up in the shot you’ll actually use, select Download and drop the new file into your edit. Your original stays on your device.
Two video comparisons: movement and product detail
A dance clip and a product shot give you different details to check. Play the first example to judge motion, then pause the second to inspect lettering. In both clips, the moving divider is part of the demonstration.
Can you improve a blurry video after recording?
Pause on a moment when the subject is still. If the outline is visible but looks jagged or soft when enlarged, try that section in the upscaler. If a moving hand is smeared across the frame, or the camera focused on the wall behind a face, the missing detail may stay missing. For an edit, check the frames just before and after that moment. A sharper second from the original can be the better shot.